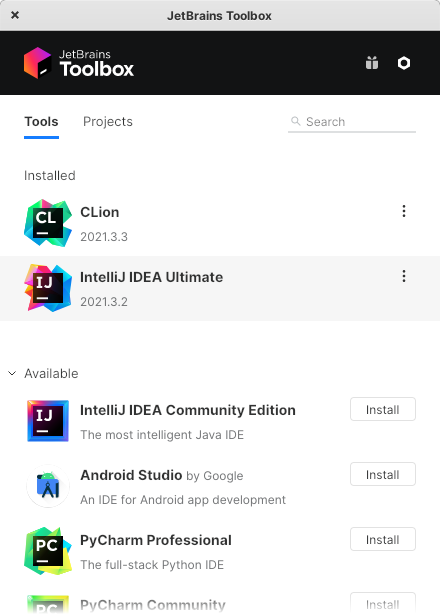
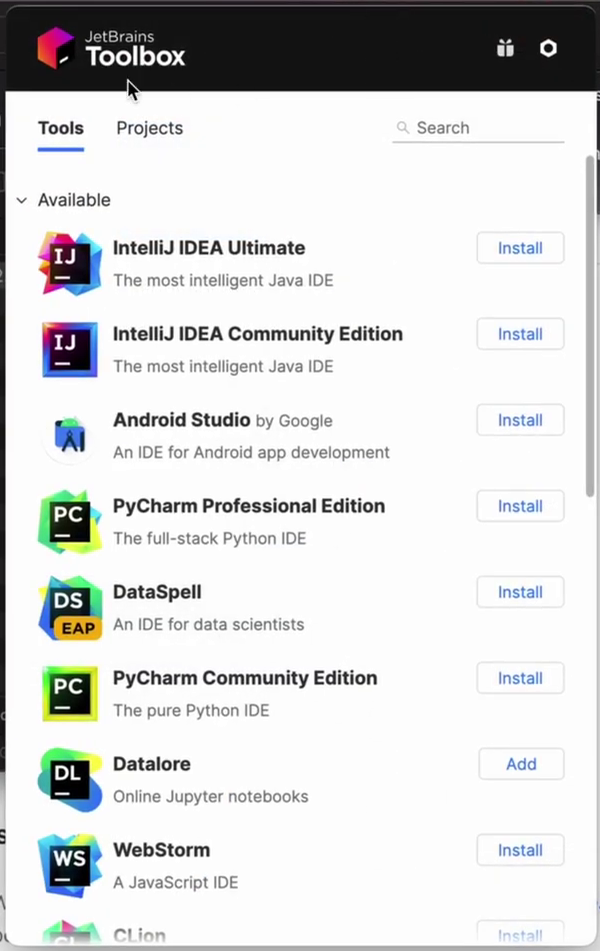
📦 What is Jetbrains' Toolbox App
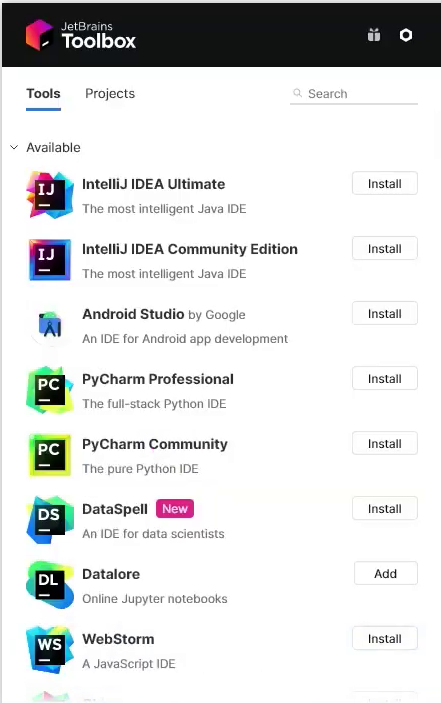
The Toolbox App is the best way of installing any Jetbrains software and Android Studio, which I’v knowm so far. It let’s you to install with a click differents versions of the supported softaware, but it goes more that only that, Toolbox allows you to manage (auto) updates, change versions, have multiple version at the same time.
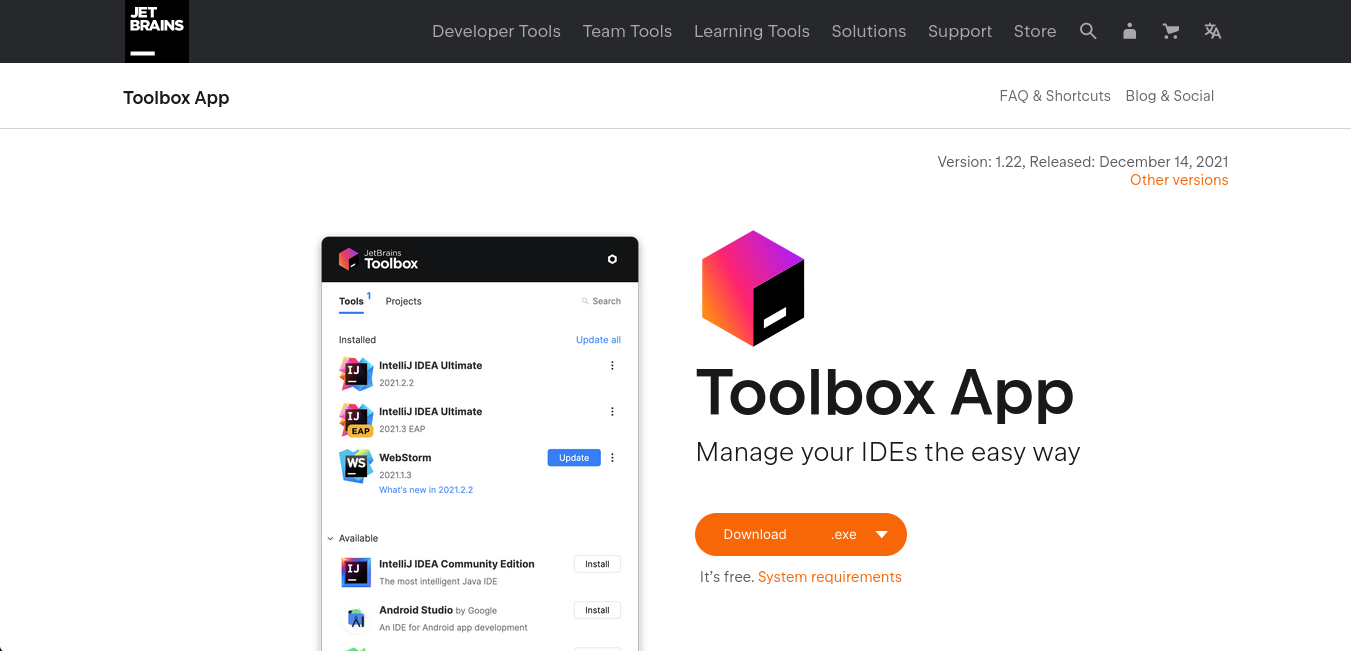
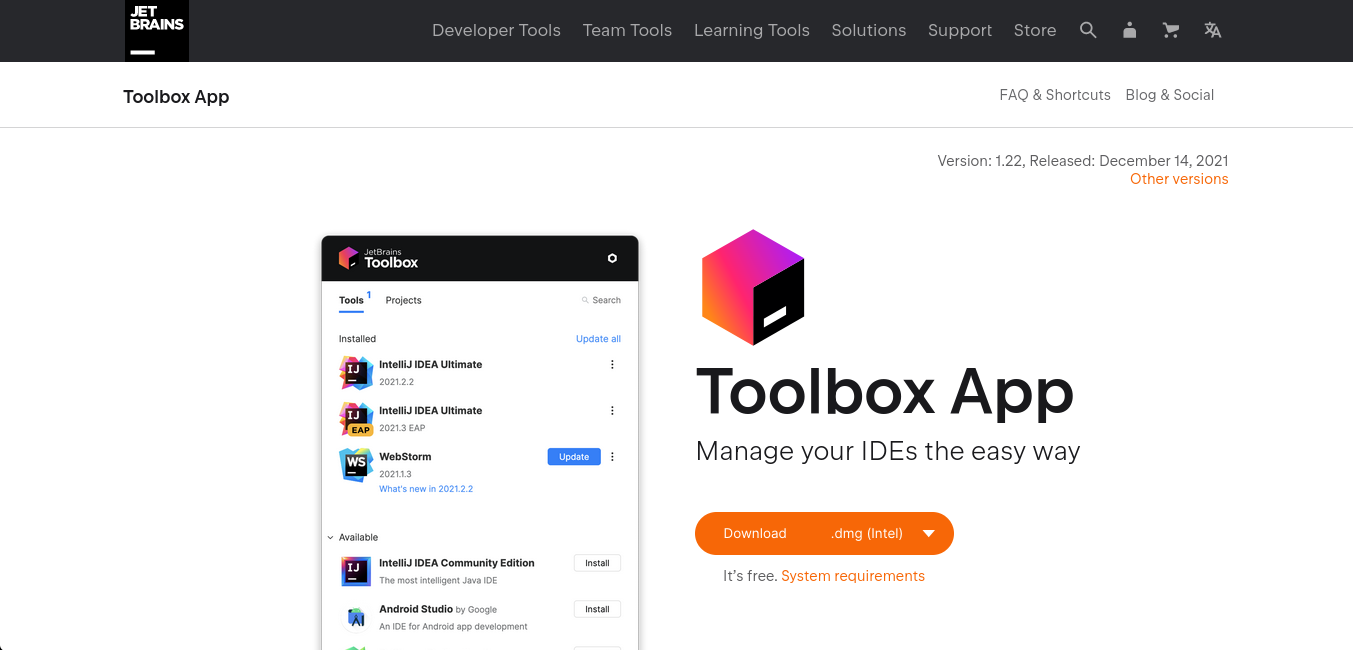
⏬ Download
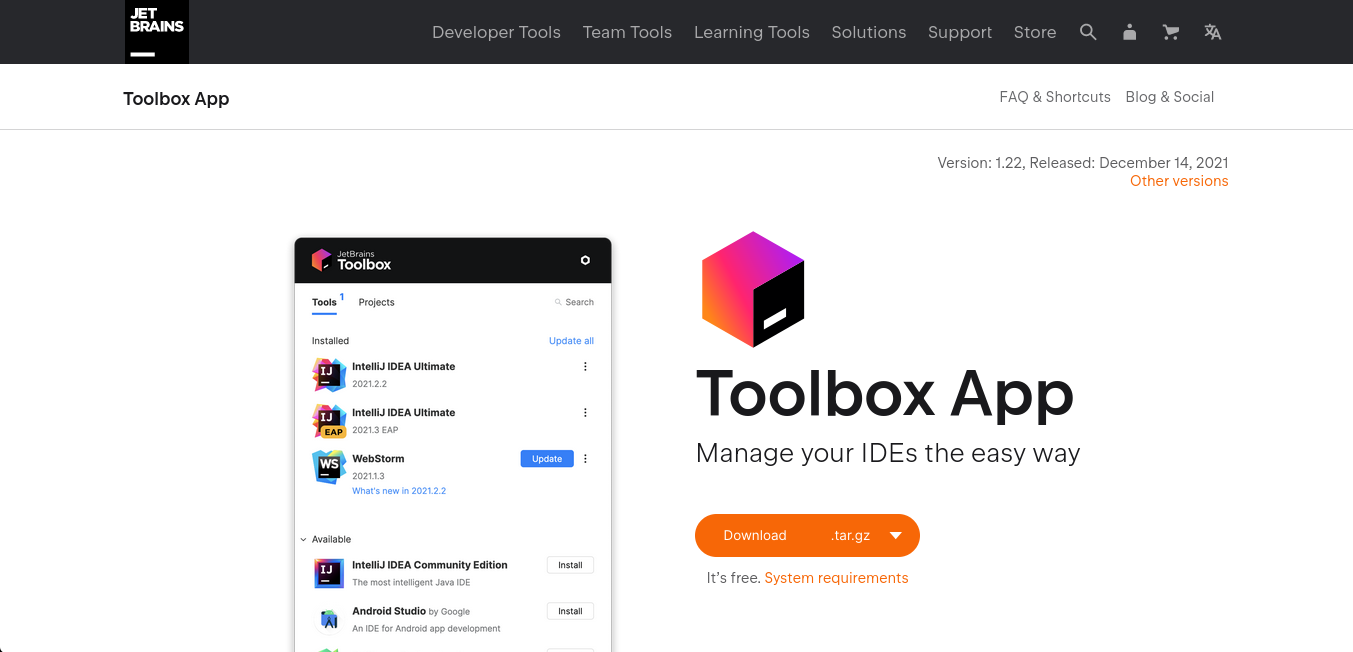
Visit the official web site site and click on the Download Buttom, which it detects automately your SO and continue downloading the corresponding version. Otherwise, you can click on the button at the right of the “Download” buttom and select your right platmform.
💻 Installation
1️⃣ Installing Toolbox App on Windows
The minimum version supported to install The Toolbox App is a 64 bits Windows 8 o above.
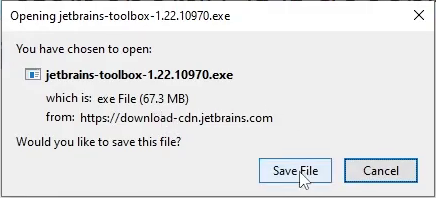
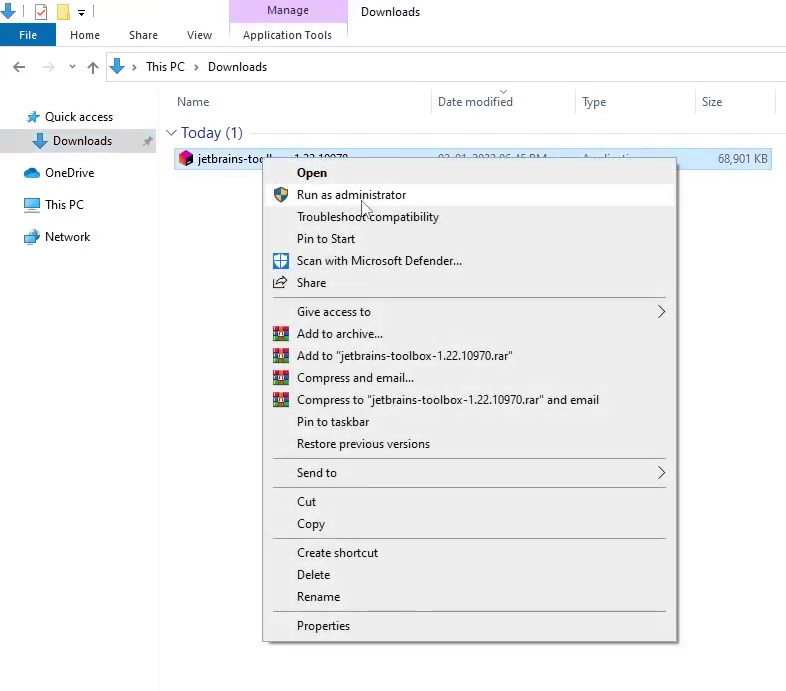
- First, download the .exe installer at jetbrains.com/toolbox-app.
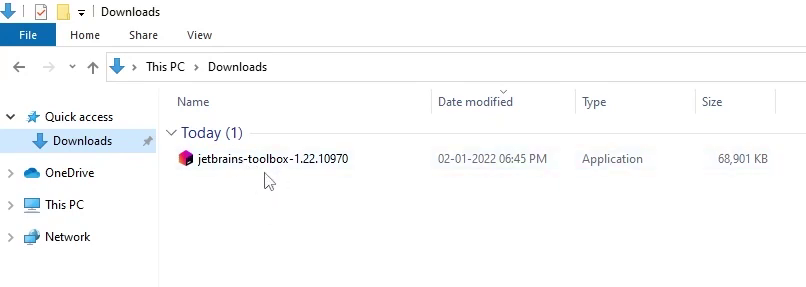
- Locate the file downloaded in your Downloaded File.
- Open the installer by Running the file as Administrator.
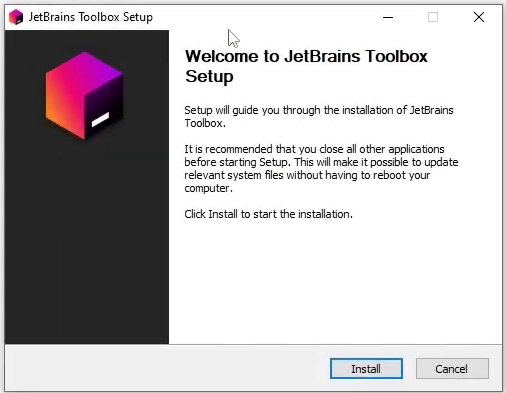
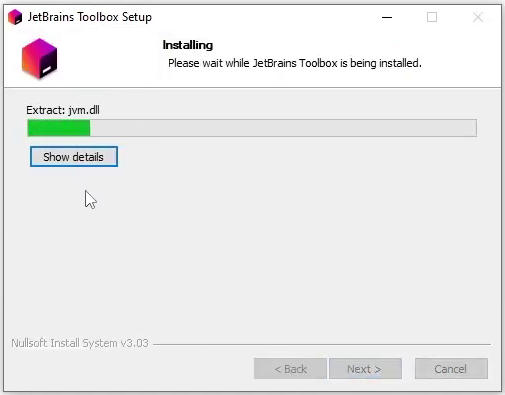
- Click on th “Install” button to start the installation.
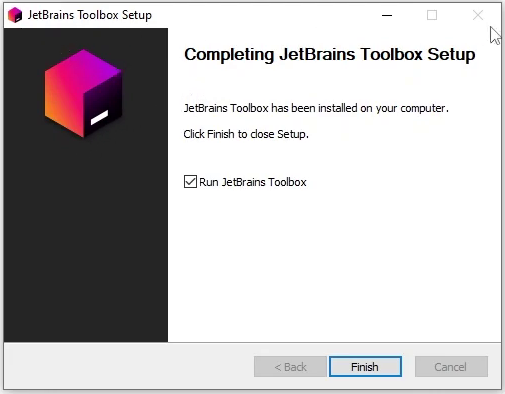
- When the installation finishes, click on “Finish” and if you want open Toolbox immediately you can check the option “Open Jetbrains Toolbox”
📷 Screenshots for installing Toolbox on Windows
2️⃣ Installing Toolbox App on Linux
This time I’m using elementary OS, which is an Ubuntu-based distribution, but you can use any other Linux distribution and find the right commands depending on your desktop environment or Linux flavor.
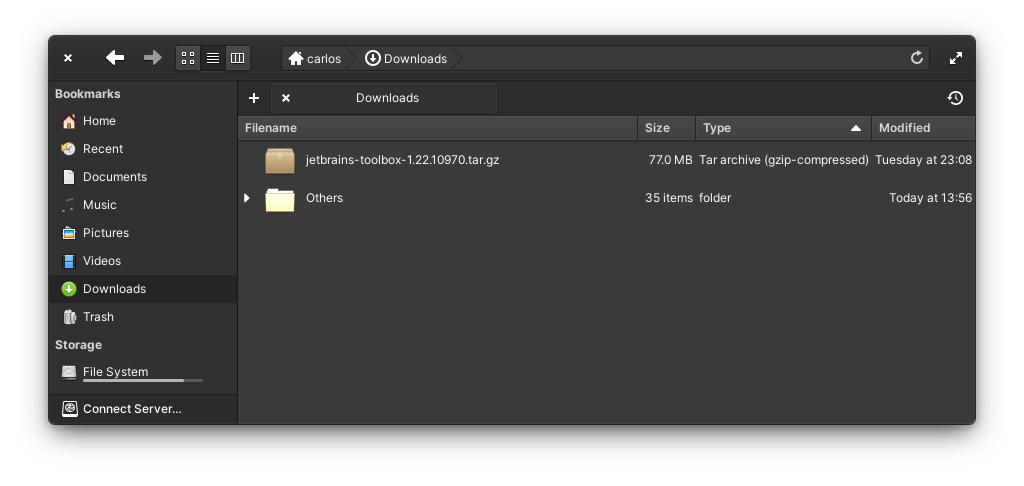
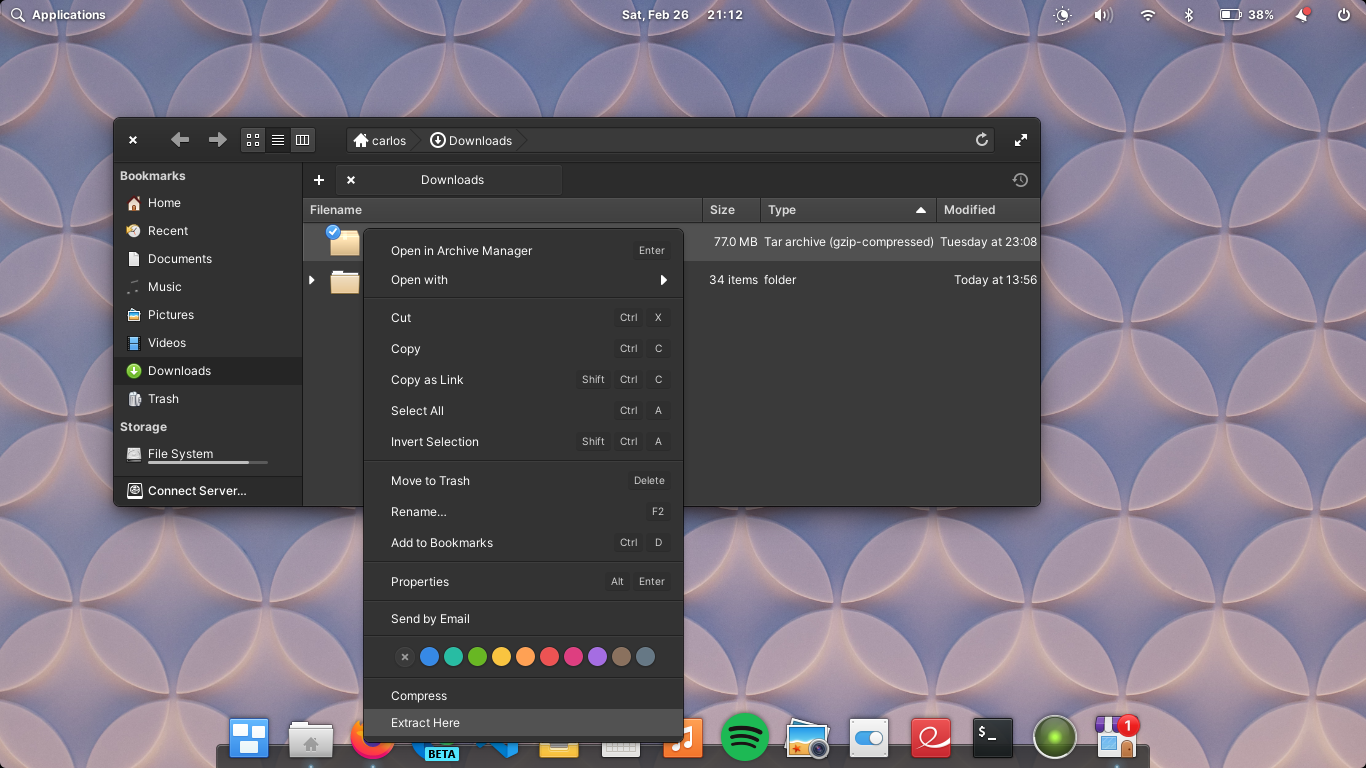
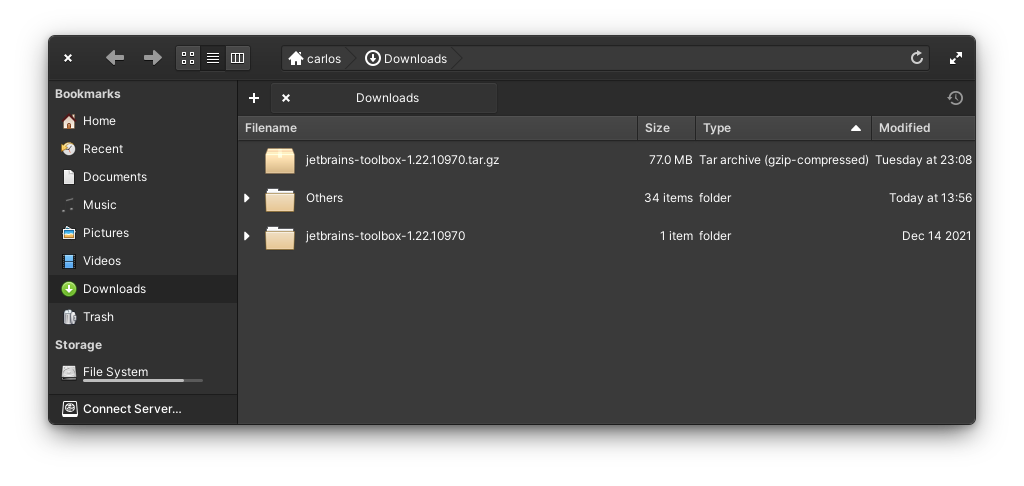
- The first step is to download the .tar.gz and extract its content either using an application with the user interface or by the command line. Once you had located your file, you can extract the content of it using the next command:
tar -xf <you file name>.tar.gzWhere is the name of the file downloaded, for example, the current version available to download is “jetbrains-toolbox-1.22.10970.tar.gz” but when you download this, you could have a different number version.
- Then move the extracted folder to a location where you can find it any time you need to use it. Use a program like Nautilus, Files, or command line.
If you like, you can use the next command in your terminal.
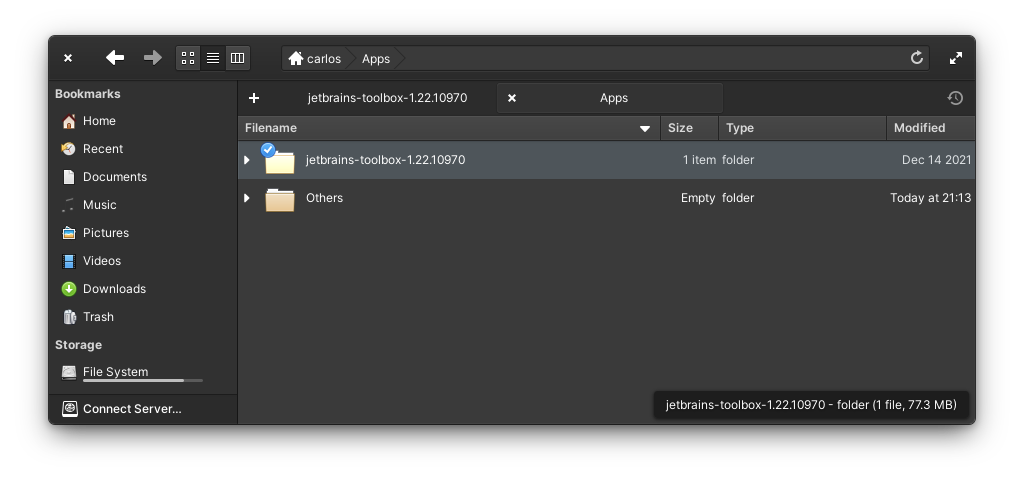
mv <folder to move> <destination>Where is name of the folder extracted (in my case jetbrains-toolbox-1.22.10970) and is the folder where you want to move your extracted folder. For example for me I’d use as next:
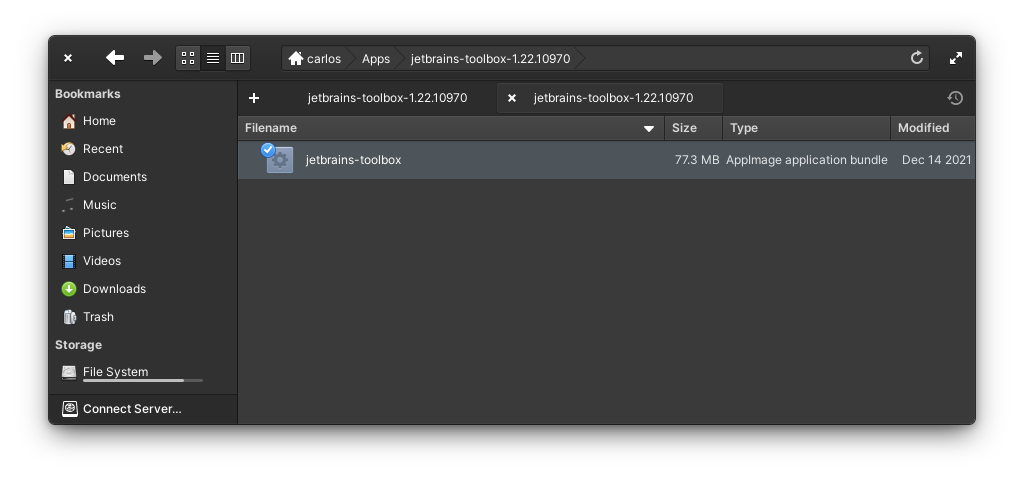
mv jetbrains-toolbox-1.22.10970 ~/Apps/- Set permission to execute the app either using a files manager or by the terminal.
If you want to use commands, open a terminal located in your folder previously extracted and change its location by typing:
chmod 755 jetbrains-toolbox- Then just open the jetbrains-toolbox AppImage application either using your file manager or by command line.
You only need to write ./ follow by the file name and press enter.
./jetbrains-toolbox📷 Screenshots for installing Toolbox on elementary OS
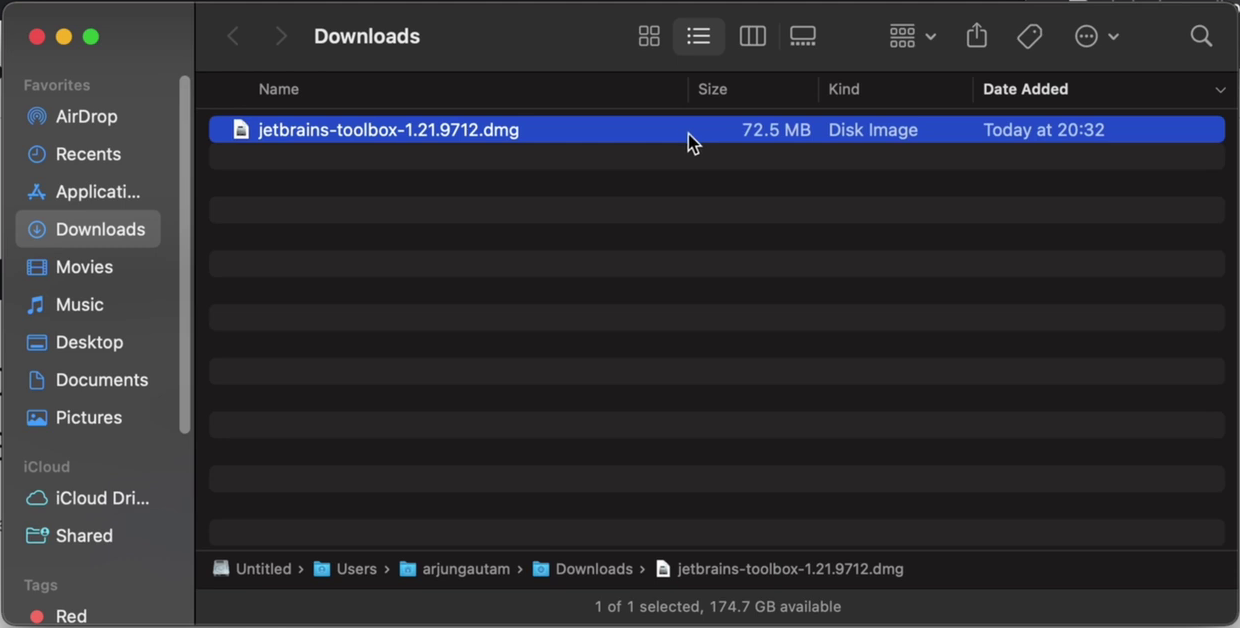
3️⃣ Installing Toolbox App on Mac OS
To install the Toolbox App in Mac Os you need a macOS 10.14 (Mojave) o above and if you have a macOS with Apple Silicon you need to make sure you are going to download the corresponding option.
- On the website of Jetbrains Toolbox App click on the Download button to start the download.
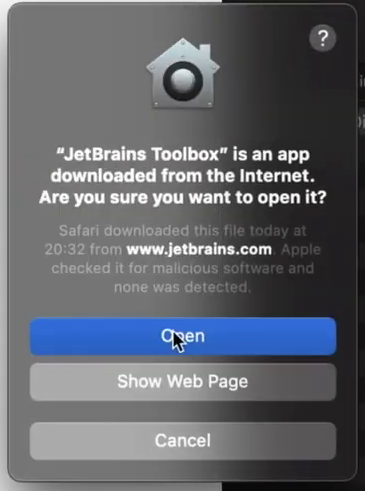
- When the download had finished, locate the file and open it. A warning dialog will appear, which asks you if you are sure to open this file, click on the “Open” button to continue.
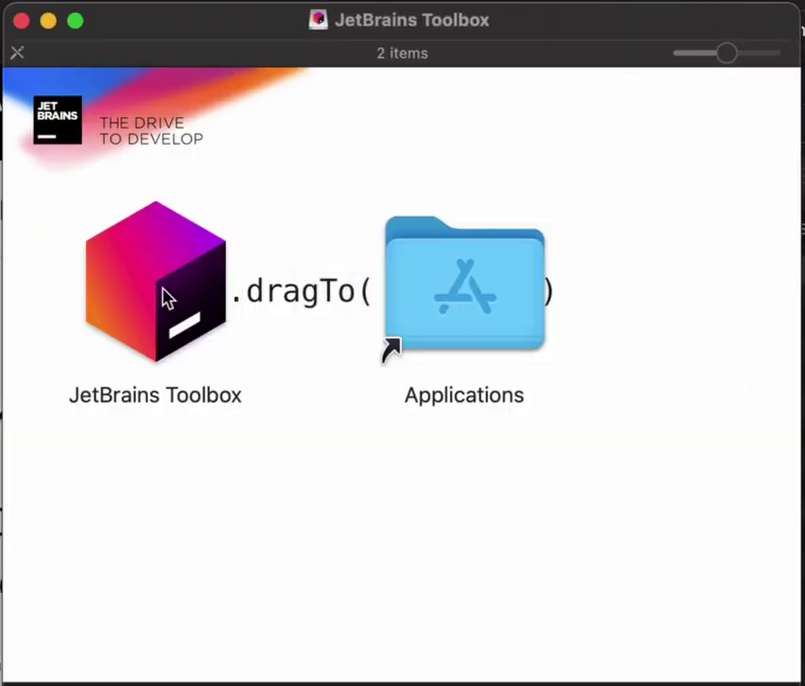
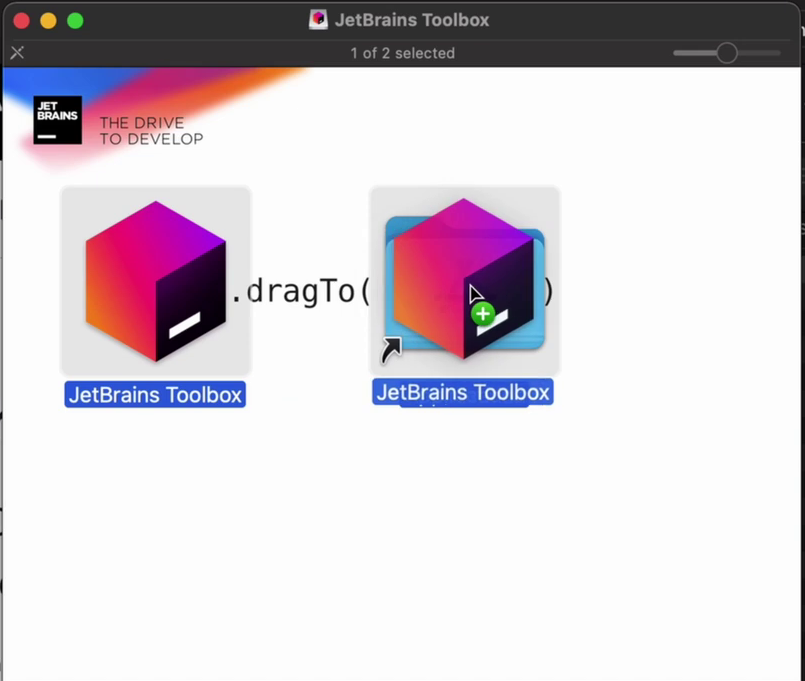
- The installer for .dmg files is shown and then you must drag and drop the Toolbox Icon over the Application icon on the right side.
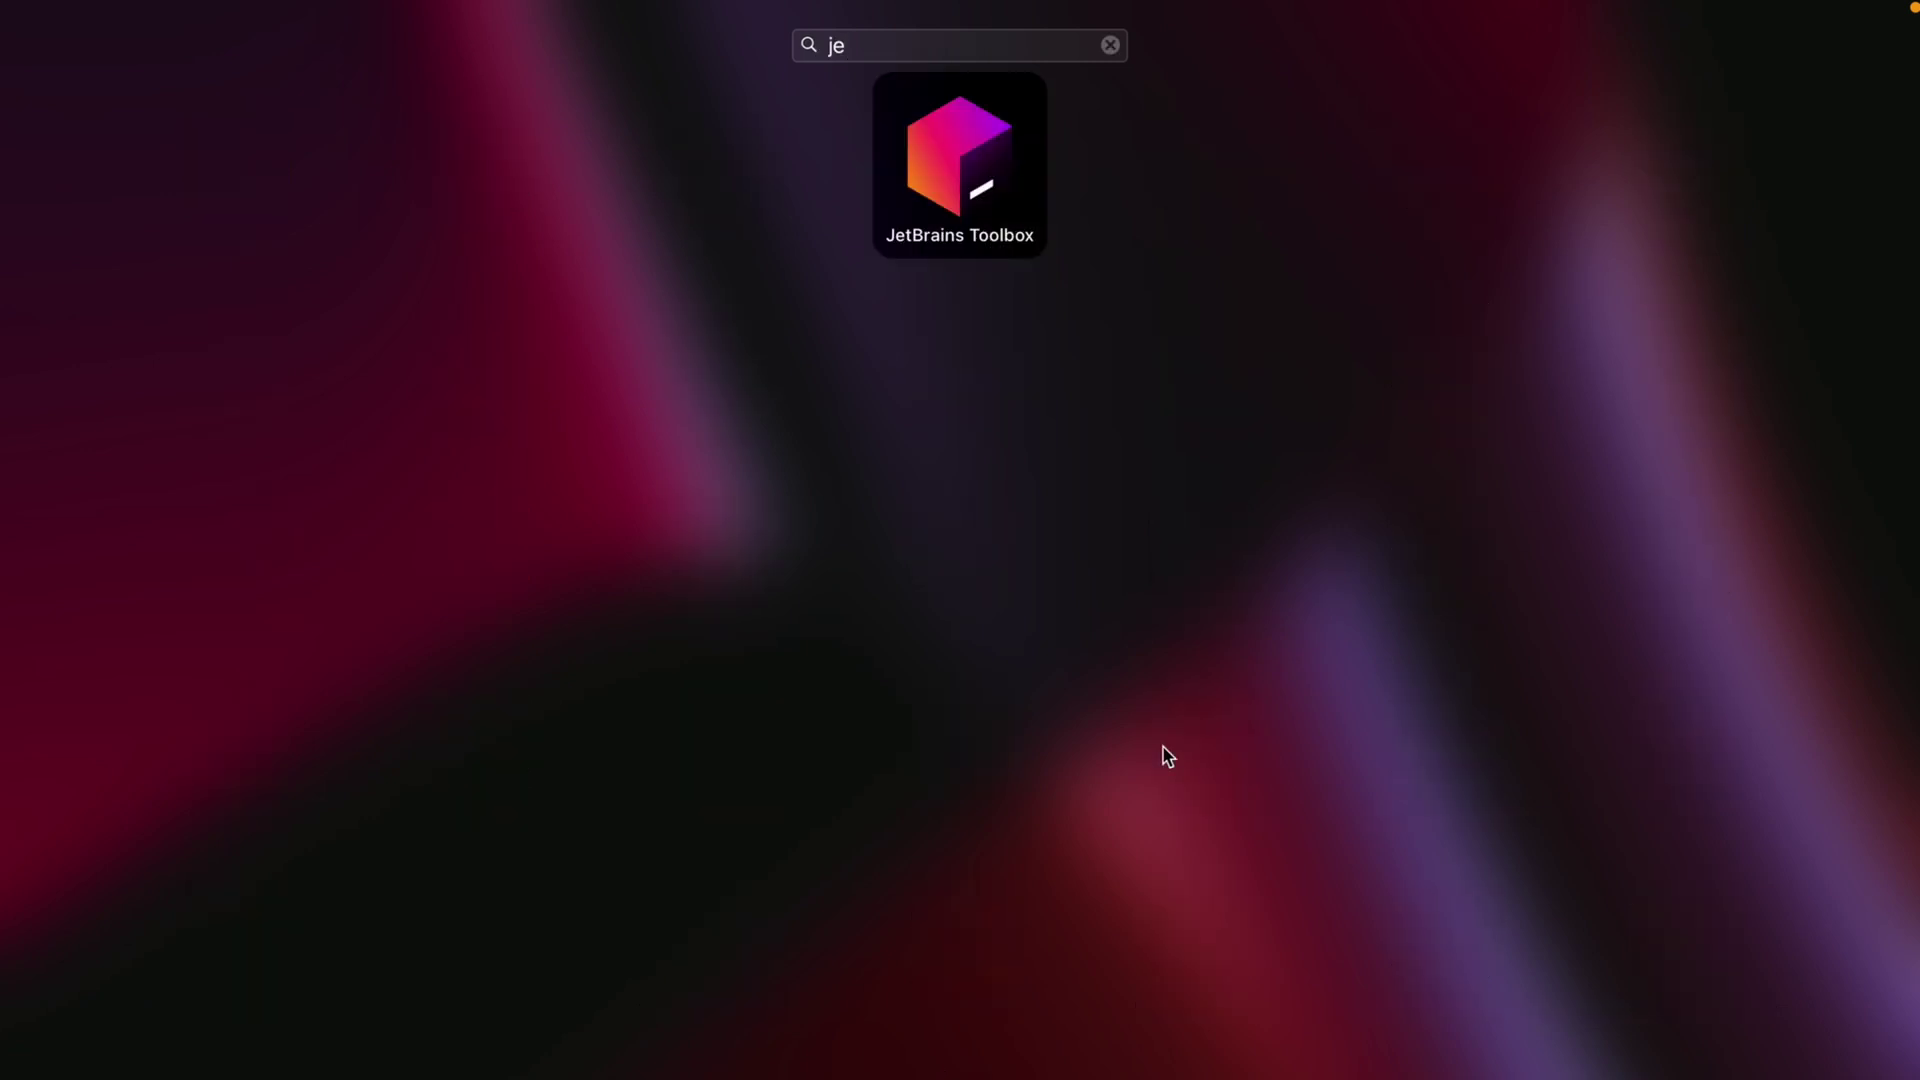
- If the app was successfully installed, you can find it in the App Launcher then click on it.
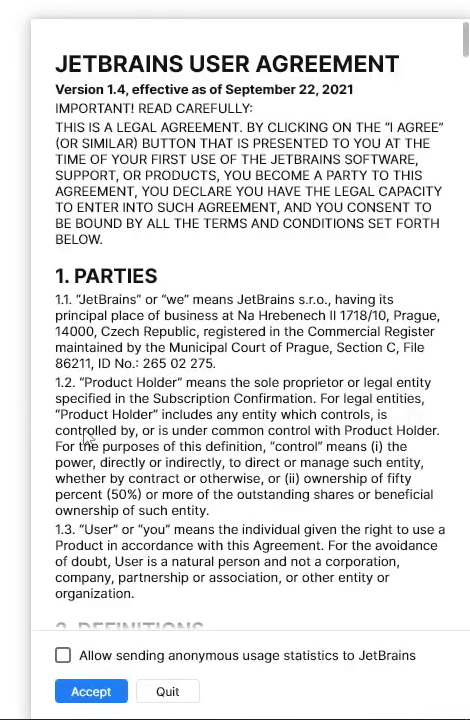
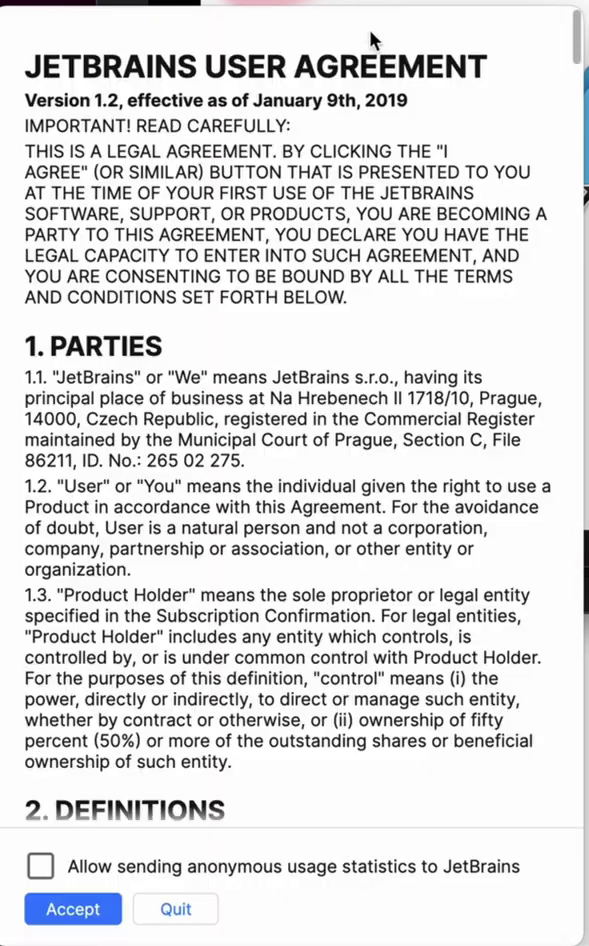
- The first time you open the Toolbox App it will ask you to accept the User Agreement. Click on “Accept”.
📷 Screenshots for installing Toolbox on macOS
📙 Summary
As you can see installing the Toolbox App is very easy on any platform because the Jetbrains team is making awesome work to offer a better user experience. On Windows you just need a pair of clicks, on Linux, you can choose between using the terminal or if your distribution is compatible with AppImage you can install it with a pair of clicks just like on Windows. And finally, the installation on macOS is quite easy the only thing you need is to do a simple drag and drop.
There are no excuses to not use Toolbox as your favorite way of installing Jetbrains' Products or Android Studio, this tool is a gem.